- Published on
- •8 min read
Mastering Java Version Management with SDKMAN!
SDKMAN! is the essential tool for all Java developers. It makes it easy to manage and switch between different versions of Java and other SDKs, optimising the efficiency and flexibility of projects.
- Authors

- Name
- Fabrice Yopa
- @yopafabrice
Introduction
The world of software development is constantly evolving. Technologies and tool versions change rapidly. For Java developers, juggling between different versions of the JDK (Java Development Kit) can be a real headache, especially when it comes to maintaining different projects that require specific versions.
This is where SDKMAN! comes in. Not only does this revolutionary tool make it easy for you to manage multiple versions of Java, but it also makes it easy for you to switch from one version to another.
This article will guide you through installing, using and advanced features of SDKMAN!
Installation on macOS & Linux
Even for beginners, installing SDKMAN! on MacOS and Linux is a quick and easy process. Following is a detailed guide on how to set up the tool on your machine.
Prerequisites
Make sure your system has the following before installing SDKMAN!
- A terminal (pre-installed on MacOS and Linux).
- Connected to the Internet to download the required scripts and packages.
- curl and zip installed on your system. These tools are usually preinstalled, but you can install them manually if necessary.
To check for the presence of curl and zip, run the following commands in your terminal:
curl --version
zip --version
If these instructions don't return the versions of these utilities, you can install them using your package manager (Homebrew for MacOS or apt/yum for Linux).
Installation
Once the prerequisites have been met, SDKMAN! can be installed with a single command:
curl -s "https://get.sdkman.io" | bash
This command causes the SDKMAN! installation script to be downloaded and executed. During the process, the script will download :
- Download the necessary files.
- Add configurations to your shell file (
.bashrc,.bash_profile,.zshrcor others, depending on your shell). - Initialize SDKMAN! automatically.
- Finishing the installation
For the changes to take effect, reload your shell configuration after running the installation script. This can be done by running the following command:
source "$HOME/.sdkman/bin/sdkman-init.sh"
Alternatively, you can close and reopen your terminal.
Initial Setup
Once SDKMAN! is installed, it is important to do a proper configuration of the tool in order to have the most out of it. This step allows you to customize the behavior of SDKMAN! to your specific needs. It also ensures that everything is ready for smooth operation.
Checking installation
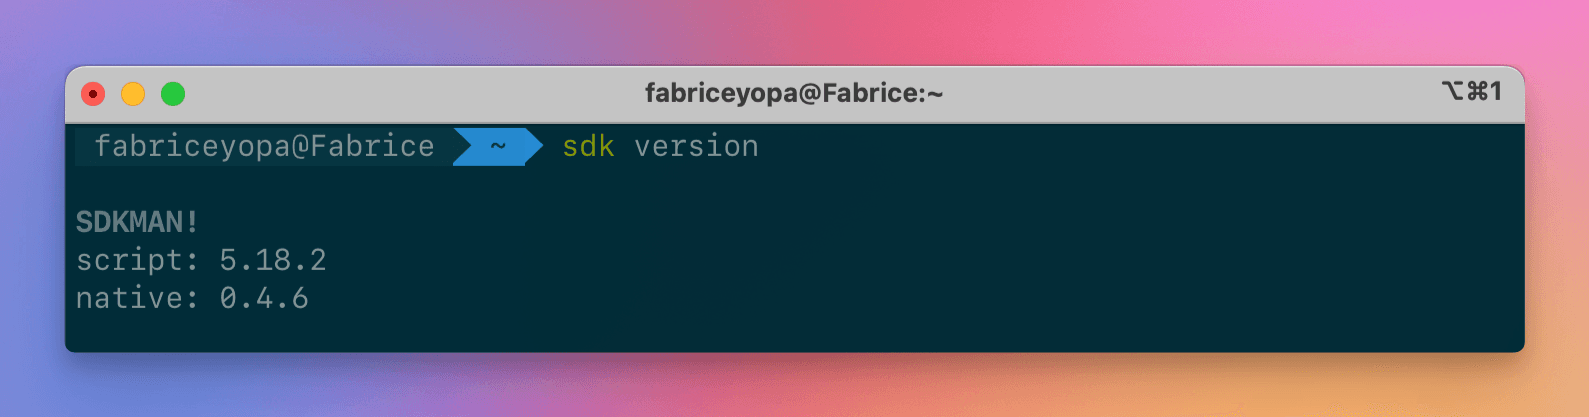
Before proceeding with the configuration, check that SDKMAN! is correctly installed. Open a terminal and run the following command:
sdk version
This command returns the current version of SDKMAN! if it is installed correctly.
Customizing Configuration Files
The SDKMAN! configuration file can be found in your user directory at the following location: ~/.sdkman/etc/config. This file contains several parameters that you can adjust to personalize the SDKMAN! experience.
Here are some of the most commonly modified options:
sdkman_auto_answer: Determines whether SDKMAN! should automatically answer “yes” to questions asked during installations and updates. Possible values aretrue(automatic response) orfalse(manual response).
sdkman_auto_answer=true
sdkman_auto_selfupdate:Allows SDKMAN! to automatically update itself when a new version is available. Valid values aretrueorfalse.
sdkman_auto_selfupdate=true
sdkman_insecure_ssl: If you are experiencing problems with SSL certificates, you can disable SSL verification by setting this option to true. However, this is not recommended for security reasons.
sdkman_insecure_ssl=false
There are many other configurations that you can view on the SDKMan website.
Updating Shell Configurations
You must reload your shell or restart your terminal for changes to the configuration file to take effect. Run the following command in your terminal if you have modified the .bashrc', .zshrc' or other files:
source "$HOME/.sdkman/bin/sdkman-init.sh"
Java version management
One of the main advantages of SDKMAN! is its ability to easily manage multiple versions of Java on a single machine. Whether you're working on different projects that require specific versions of the JDK, or you want to test your applications on multiple versions of Java, SDKMAN! makes these tasks straightforward and efficient.
Here's how to install multiple versions of Java, switch between them, and set a default version.
Setting up multiple version
SDKMAN! allows you to quickly install multiple versions of Java using the sdk install command. To install a specific version of Java, follow these steps:
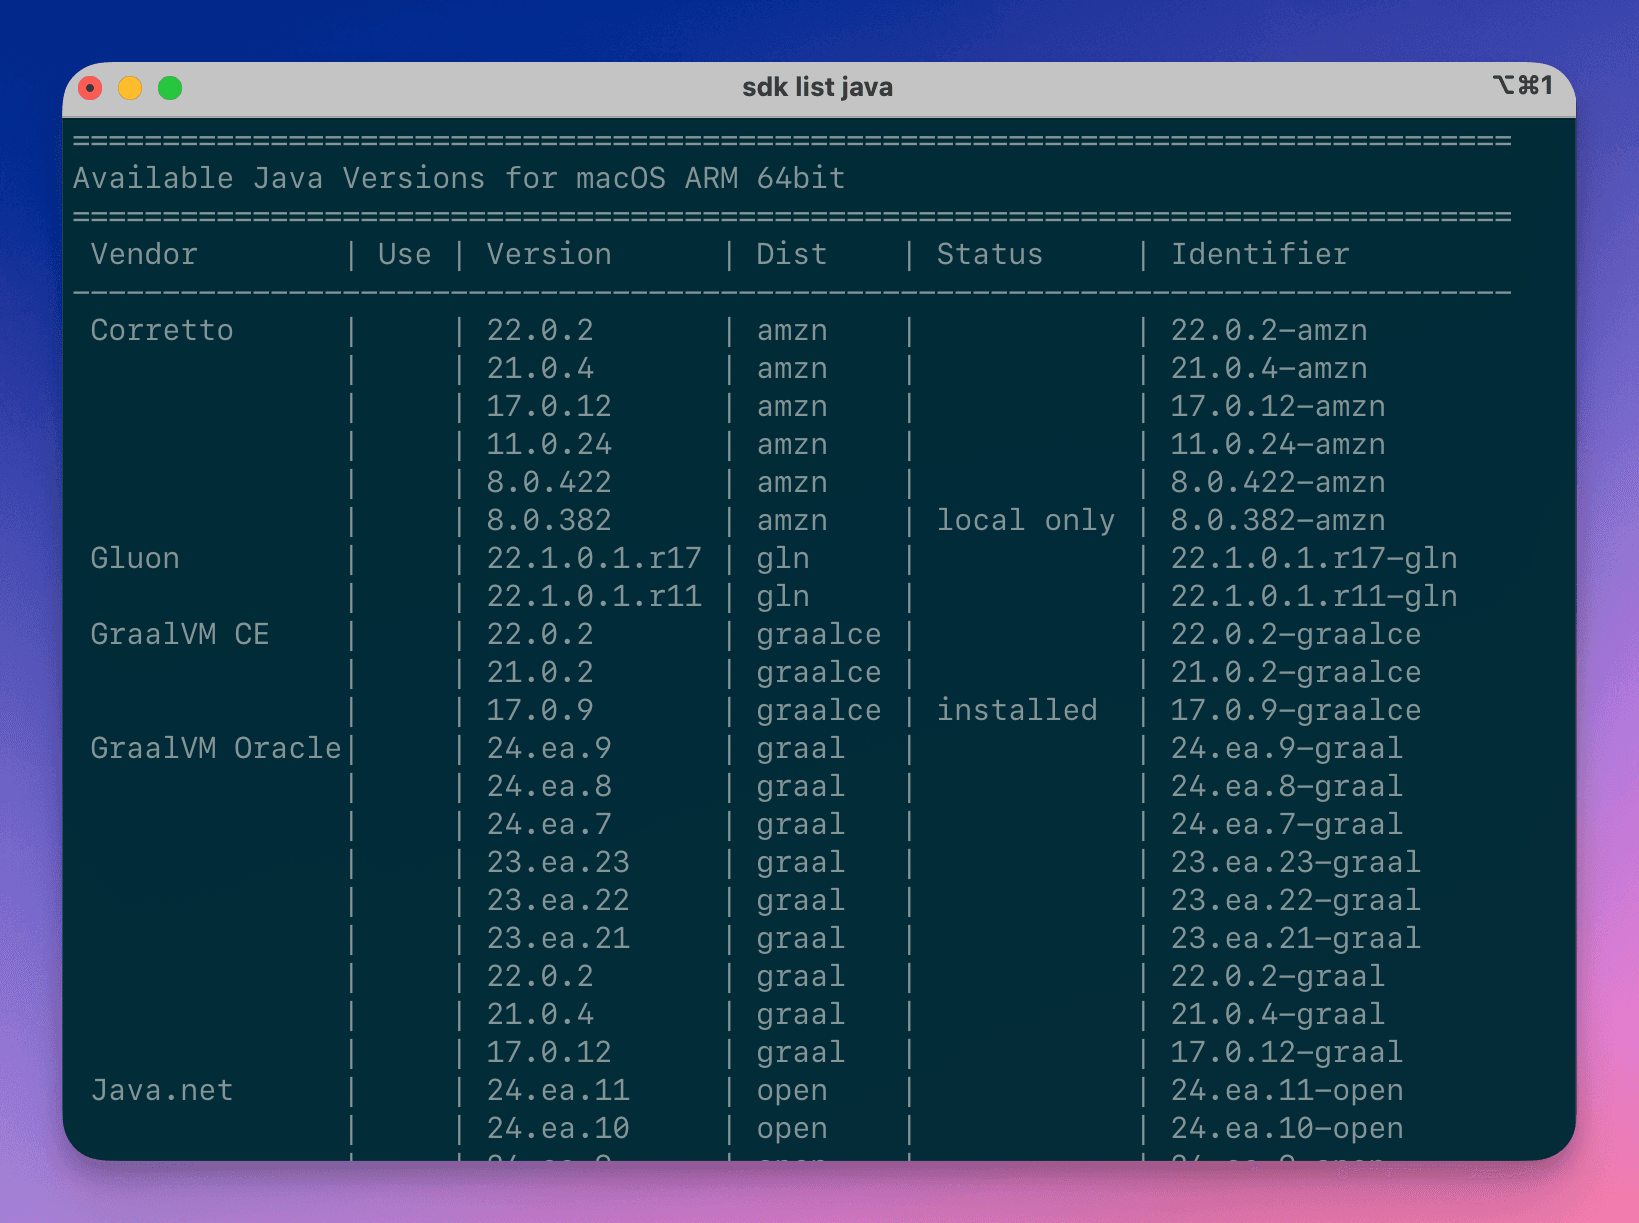
- List available versions: First, list all Java versions available via SDKMAN! with the following command
sdk list java
This command displays a list of all available Java versions, sorted by vendor and version number.
Once you've identified the version you want to install, use the following command to install it:
sdk install java <identifier>
For example, to install Correto version 22.0.2, you would use :
sdk install java 22.0.2-amzn
You can repeat this step to install as many versions of Java as you need.
Switching versions
If you have multiple versions of Java installed, you can easily switch between them as needed. SDKMAN! allows you to switch versions with a single command:
List installed versions: Before switching versions, you can check the Java versions installed on your system with the following command:
sdk list java
Installed versions will be marked with a * or local only next to their version number.
Use the sdk use command followed by the desired version to change the active Java version. For example, to use version 11.0.11:
sdk use java 11.0.11.hs-adpt
Changes the Java version for the current session. It stays active until you close your session or switch it.
Set Default Java Version
You can set a default Java version if you have one that you use frequently. It will then be automatically activated each time you open a terminal.
Use the sdk default command followed by the desired version to set a Java version as the default. For example, to set version 11.0.11 as the default, run :
sdk default java 11.0.11.hs-adpt
Simply run the following command to verify that the default version is configured correctly:
java -version
Advanced features
SDKMAN! is designed to manage a wide range of SDKs and development tools, such as Maven, Gradle, Scala and many others, in addition to managing Java versions.
Install others SDKs and development tools
SDKMAN! allows you to quickly and easily install many SDKs and tools widely used in the Java ecosystem and beyond. Here's how to install some of the more popular tools.
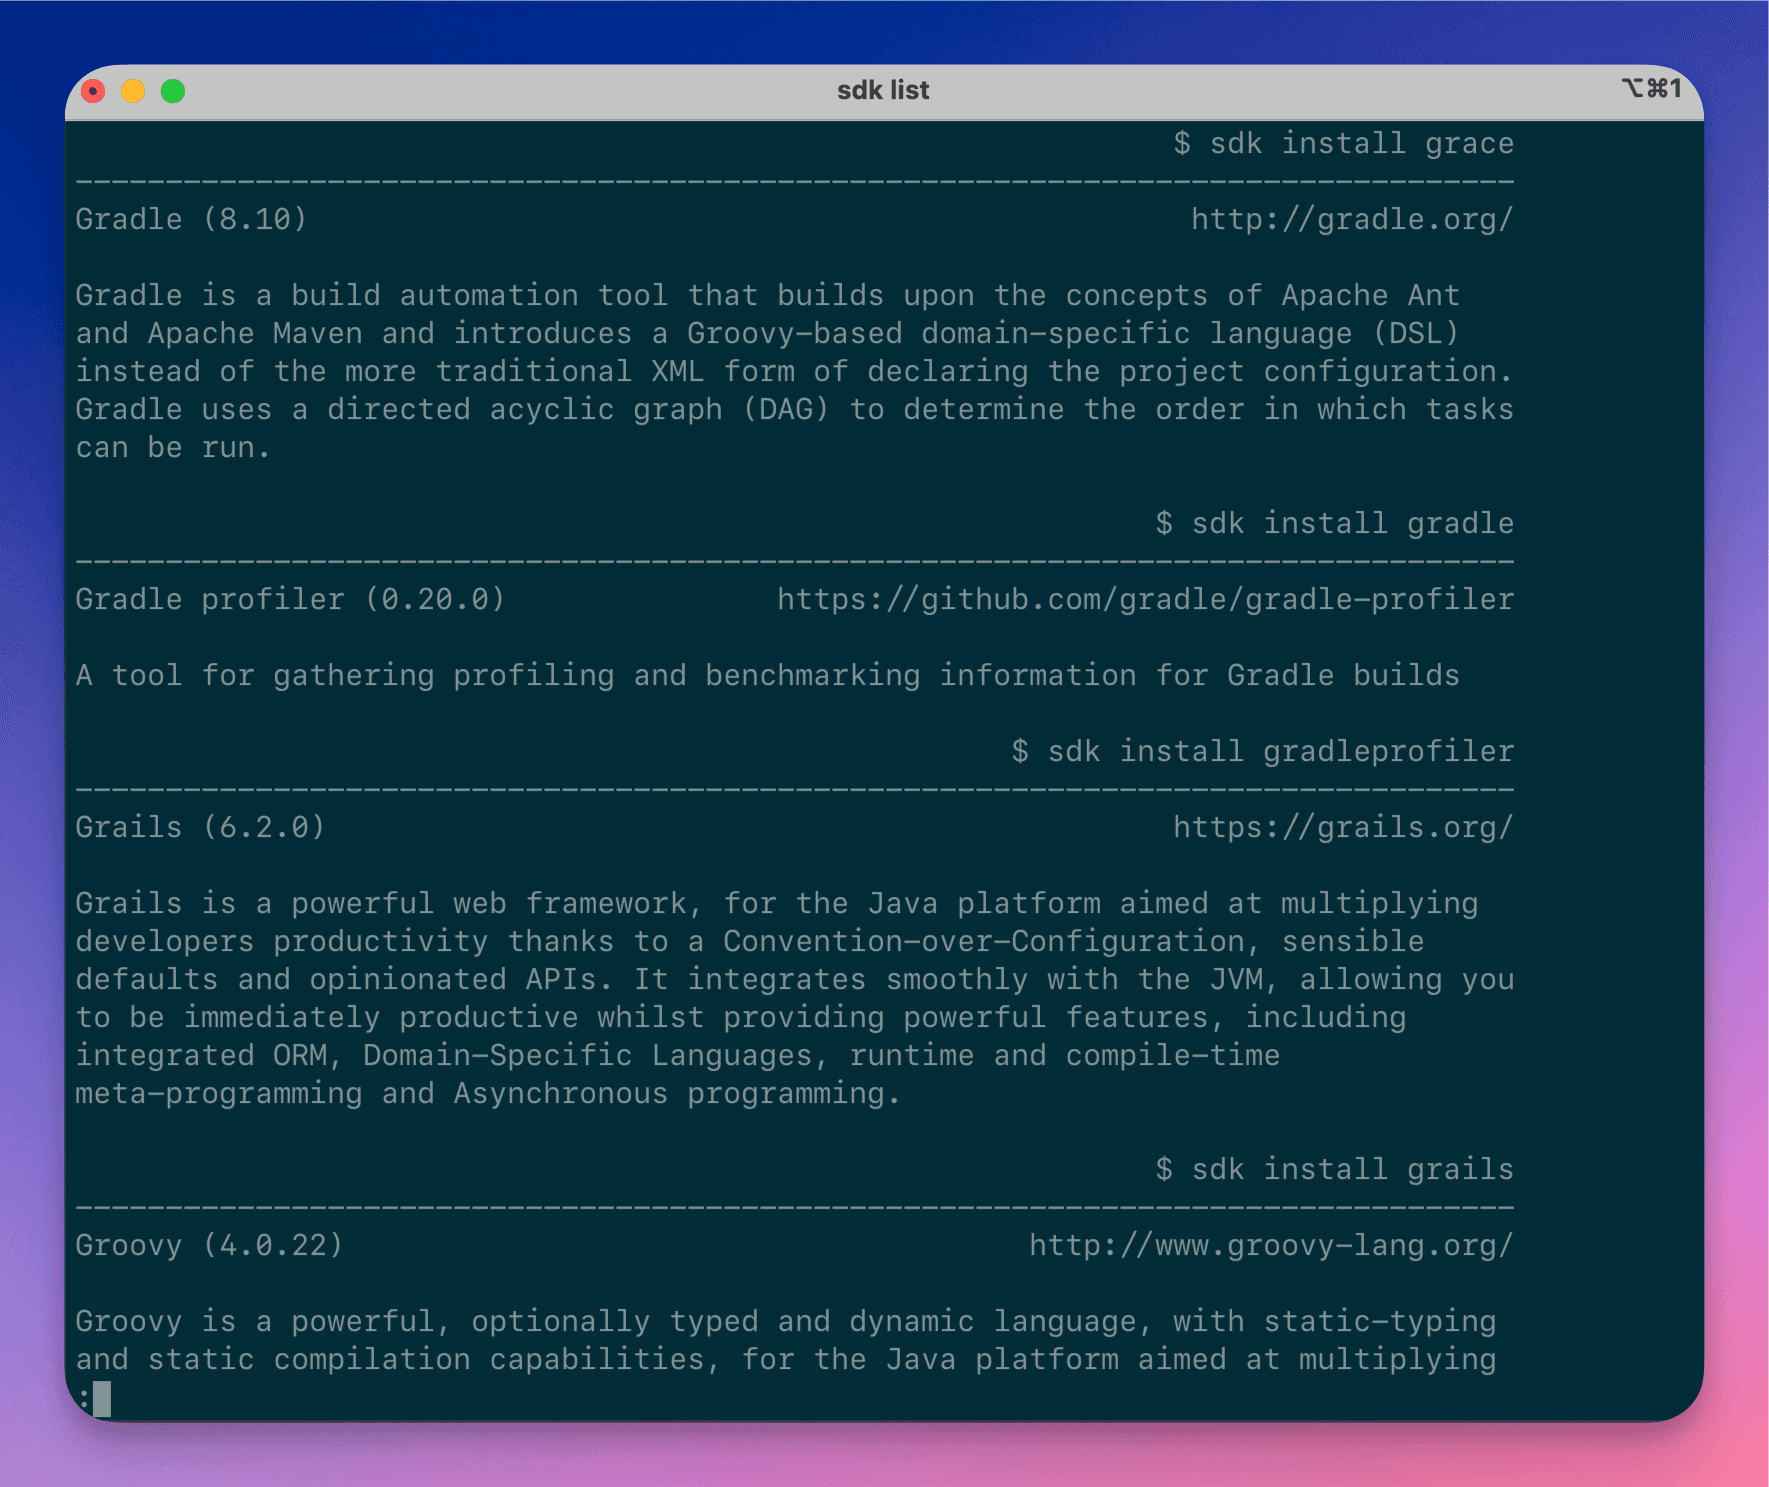
Use the following command to find out what other SDKs and tools you can install:
sdk list
Install Maven: Maven is a project management and software comprehension tool, widely used in Java projects. To install it, run :
sdk install mavenInstall Gradle: Gradle is another popular open-source build tool. To install it, run :
sdk install gradleTo install other SDKs: such as Scala or Kotlin, simply use the command
sdk installfollowed by the tool name. For example, to install Scala :sdk install scala
Each installation follows the same pattern, with SDKMAN! automatically downloading the latest stable version of the desired tool. You can specify the desired version, for example, if you need a specific version:
sdk install gradle 6.8.
Environment specific configuration
Using local configuration files, SDKMAN! Allows you to create specific configurations for each project or development environment. These configurations can be especially useful if you're working on a number of projects that require different versions of Java, Maven, or other tools.
Creating a .sdkmanrc file: In your project directory, create a file with the name .sdkmanrc. This file contains specific versions of tools to use for this project. For example
java=11.0.11.hs-adpt
maven=3.6.3
gradle=6.8.3
This file will make sure that every time you work in this directory, SDKMAN! will use the specified versions. Execute the following command in the project directory to activate the configuration defined in the .sdkmanrc file:
sdk env install
This command installs and activates all specified tools for the current session.
Changing environment:** If you frequently switch projects, you can simply change directories and run sdk env install in each project to activate specific tool versions.
You can also automatically activate the environment configuration each time you enter a directory containing a .sdkmanrc file. To do this, update the SDKMan configuration file with the following line by doing sdk config:
sdkman_auto_env=true
Conclusion
In short, SDKMAN! is the ideal tool for developers who are interested in efficient management of multiple versions of Java and other SDKs. Its simplicity, flexibility and adaptability to different projects make it an essential tool for optimizing your development environments.
Peace and see you next time! 🔥